


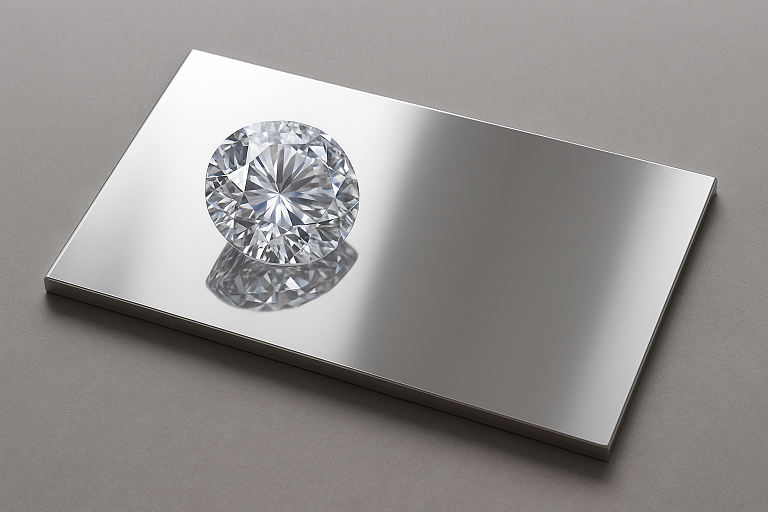
Diamond polishing is the final stage in the processing cycle.The quality of the result depends on how smooth and shiny the surface is required to be. It is important to emphasize that even the most precise diamond polishing will not deliver a satisfactory effect if the previous grinding stages have not been carried out properly. Any mistakes made during the preliminary treatment will inevitably become visible on the surface once the final shine begins to develop.
The diamond polishing process progresses from coarse → medium → fine → mirror, with each step required to completely remove the traces of the previous one. Only in this way can a high-quality and durable mirror-smooth surface be achieved.
SURFACE PREPARATION – ABRASIVE PAPER
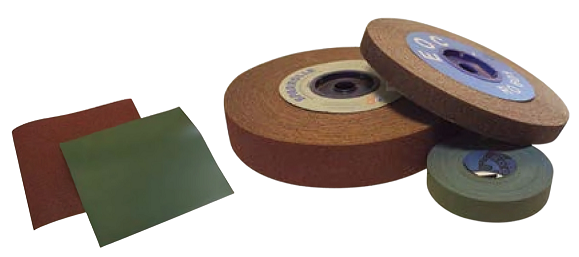
Abrasive paper
• Made with traditional abrasives: corundum (Al₂O₃), silicon carbide (SiC), etc.
• Available in a wide range of grits (P60 → P2000 and higher).
• Cheaper and more accessible.
• Suitable for softer materials – plain steels, non-ferrous metals, wood, plastics.
• Wears out faster when used on hard and hardened steels.
You may view – HERE
Diamond foils
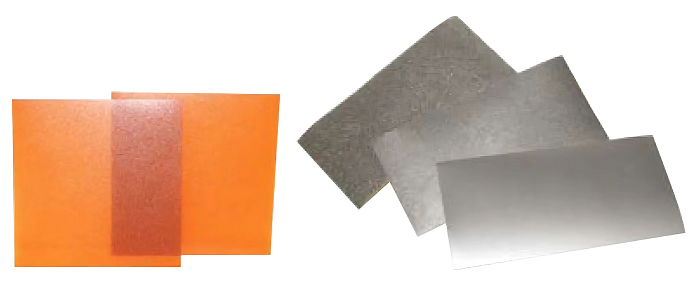
• Synthetic diamond particles are applied on a flexible backing.
• Extremely hard and durable – diamond is the hardest abrasive.
• Retains its grit much longer.
• Suitable for very hard materials – hardened tool steels, tungsten carbides, ceramics, glass, stone.
• Also used in intermediate stages of precision polishing of molds.
You may view – HERE
POLISHING WITH DIAMOND PASTE
Coarse Diamond Polishing
• Diamond pastes with larger particles (30–15 μm) are used.
• Tools: brass or hard brushes, felt tips.
• Purpose: to remove traces left by stones and prepare the surface for finer polishing.
Medium Diamond Polishing
• Pastes with medium grit (14–6 μm).
• Tools: bristle brushes, felt, or flexible tips.
• Purpose: to level the surface and reduce deeper marks.
Fine Diamond Polishing
• Pastes with fine particles (3–1 μm).
• Light pressure and moderate speed (1000–5000 rpm) are used.
• Purpose: to achieve a uniform, smooth, and shiny surface.
Mirror Diamond Polishing
• Ultra-fine pastes (1–0.25 μm).
• Tools: felt or cotton buff, microfiber.
• Purpose: to achieve a mirror-like gloss (Ra < 0.02 μm).
• At this stage, the surface should reflect light without any visible marks or defects.
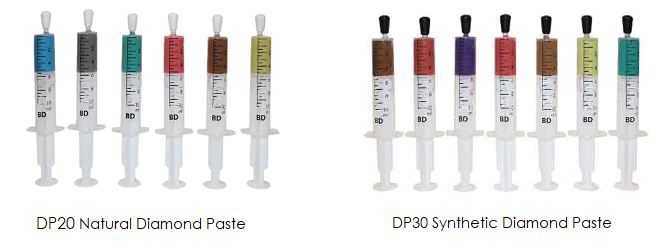
Natural Diamond Paste – HERE
Synthetic Diamond Paste – HERE
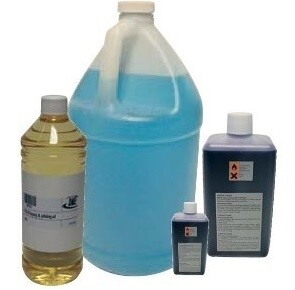
Cleaning and Protection
• After each change of paste, the surface should be cleaned with alcohol or a special solvent to ensure no particles from the previous grit remain.
• The final result can be protected with a thin layer of anti-corrosion oil.
You may view – HERE
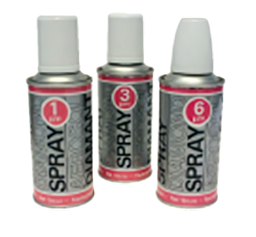
POLISHING WITH DIAMOND SPRAY
A diamond suspension spray is a liquid in which fine diamond particles are evenly dispersed. It is used as an alternative to paste – it is easier to apply, provides more uniform surface coverage, and is convenient for larger areas or automated polishing.
Medium Polishing
• At grit sizes of around 6–9 μm.
• Purpose: to evenly level the surface after coarse polishing.
• The spray helps to cover a large area quickly and uniformly.
Fine Polishing
• At grit sizes of 1–3 μm.
• The spray is used instead of paste because it distributes more evenly and prevents the formation of hard lumps that could leave marks.
Final Stage (Mirror Polishing)
• With 0.25–1 μm diamond sprays.
• Suitable for the final transition to a mirror finish, especially on complex shapes and hard-to-reach areas.
Diamond spray is most often used in medium and final polishing, where uniform coverage is essential for achieving a mirror-smooth surface.
You may view – HERE
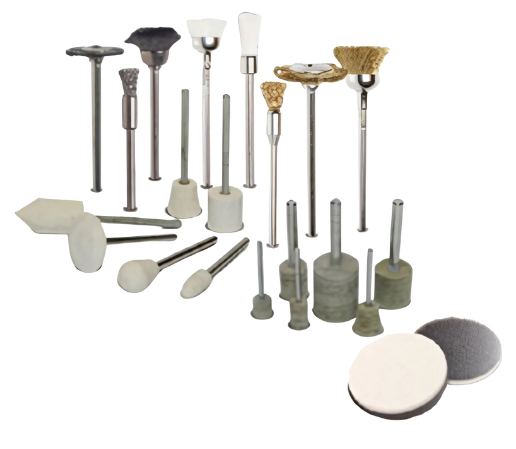
POLISHING BUFF
The polishing buff is an indispensable tool in the final stages of processing, because in combination with diamond pastes or other polishing compounds it achieves a mirror-smooth and shiny surface. It allows fine finishing of parts, including hard-to-reach areas.
You may view – HERE
POLISHING TIPS
• Apply a small amount of diamond paste at the beginning, then add more if necessary.
• Do not mix different grades of diamond pastes.
• If the paste dries out or hardens, add a pure diamond paste thinner or lubricant.
• Keep the brush or felt flat on the working surface.
• If the first grade of diamond paste used does not remove the marks from the last grinding operation, stop and remove them with a coarser paste; otherwise, highly polished shiny scratches will remain.
• Thoroughly clean the surface before moving on to a finer grade of paste.
• Do not use the same brush or felt tip for more than one grade of paste.
• Make sure that each step completely removes the traces left by the previous step.
• To avoid contamination, perform polishing in an area separate from grinding processes or in a dedicated polishing room.
• The high gloss of the final mirror finish is achieved through patience and skill.
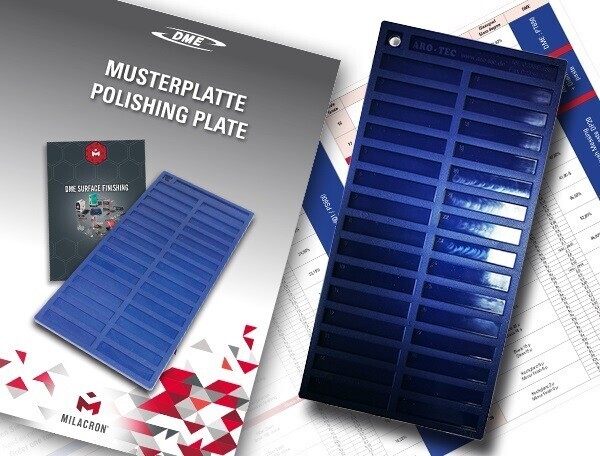
SAMPLE PLATE IN POLISHING
The roughness template serves as a reference when checking the quality of a polished surface, allowing the polisher to compare the actual result with reference values. It facilitates communication between client and manufacturer when specifying the required smoothness and is used both in metalworking and in injection molds and dies, where surface precision is crucial. The use of such a template standardizes evaluation, reduces the risk of misunderstandings, and enables fast quality control without the need for complex measuring instruments.
You can find – HERE
In polishing, there are no easy or quick solutions. A high level of technique and even a certain degree of “art” are required, and mastering this skill often takes years. It is clear that no article or list of tips can replace personal training under the guidance of an experienced craftsman.
KRASCO

Did you like the article?
Please rate it with the stars below.